

Creating Your First Ilograph Diagram
In this step-by-step tutorial, we will create, edit, and save a simple Ilograph diagram.
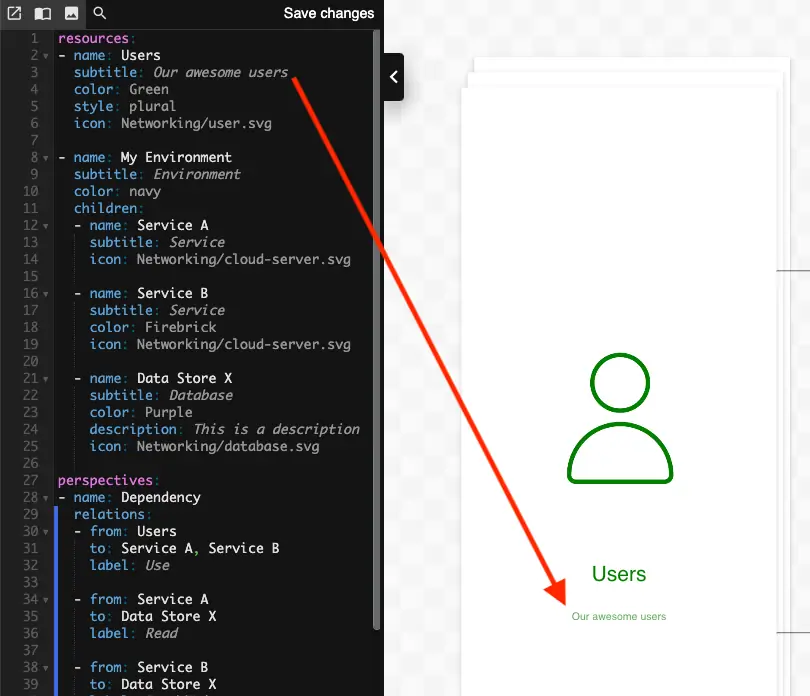
Click here to create a new Ilograph diagram if you have not already done so. Your new diagram is pre-populated with a handful of resources and a sample perspective. The diagram’s source code, which we will be editing, appears in the black panel on the left:
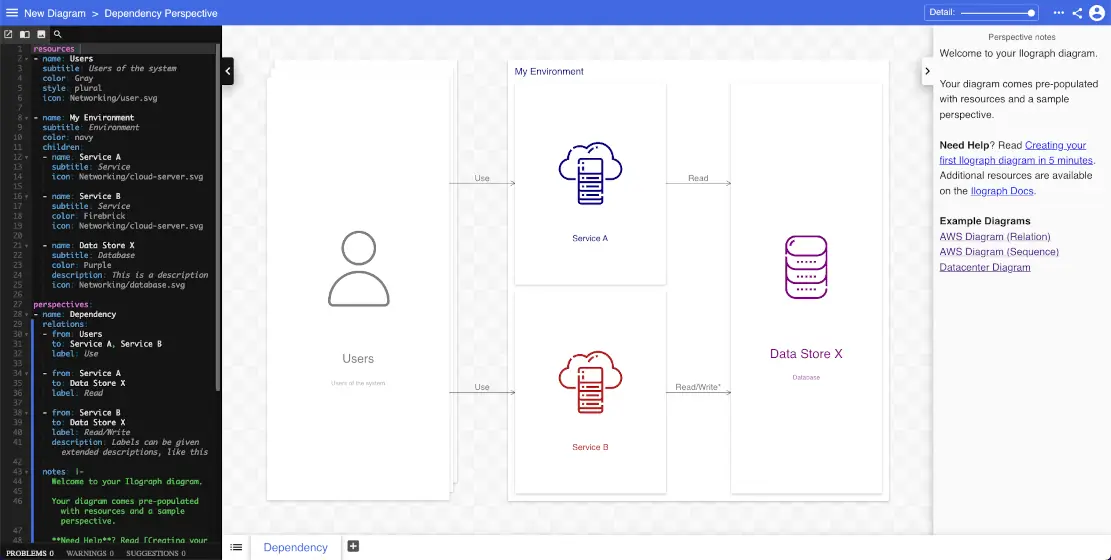
Let’s get started by making some very simple edits to the code and observing how they change the diagram. At the highest level, the source code has two sections: resources and perspectives. The resources section defines what the resources (blocks) are in your diagrams, while perspectives defines how they are related to each other.
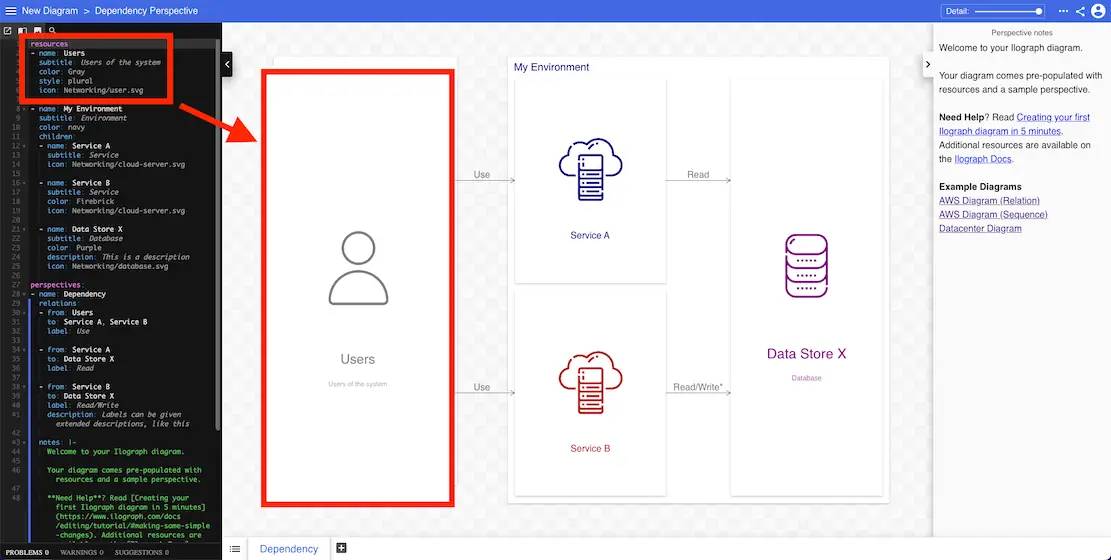
At the very top of the source, the very first resource that is defined is called Users. It corresponds to the Users block that appears in the diagram:
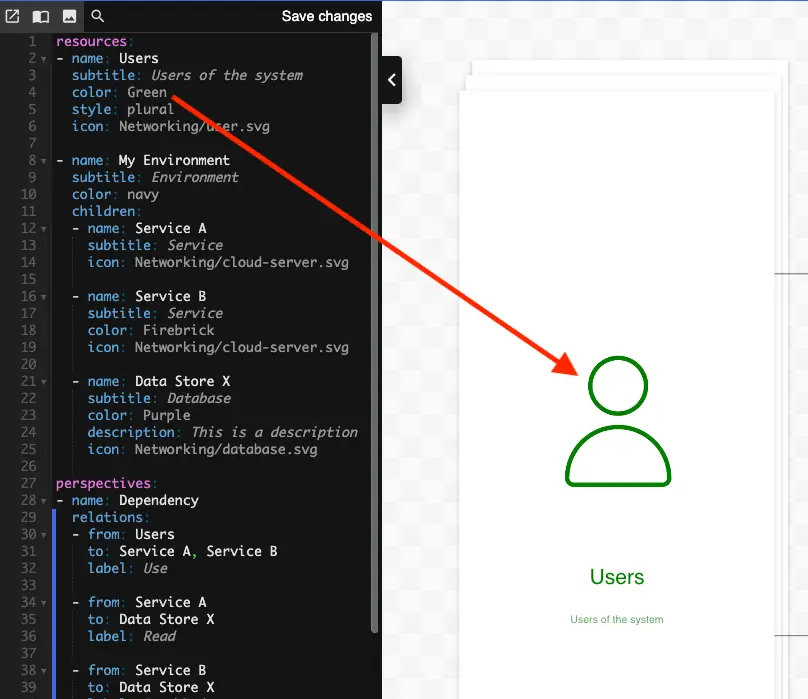
Users’ color attribute is currently defined as “Gray”. Change that to “Green”. The text and icon color of Users should now be green:
Users also has the subtitle attribute, which defines the smaller text that appears below the resource name:
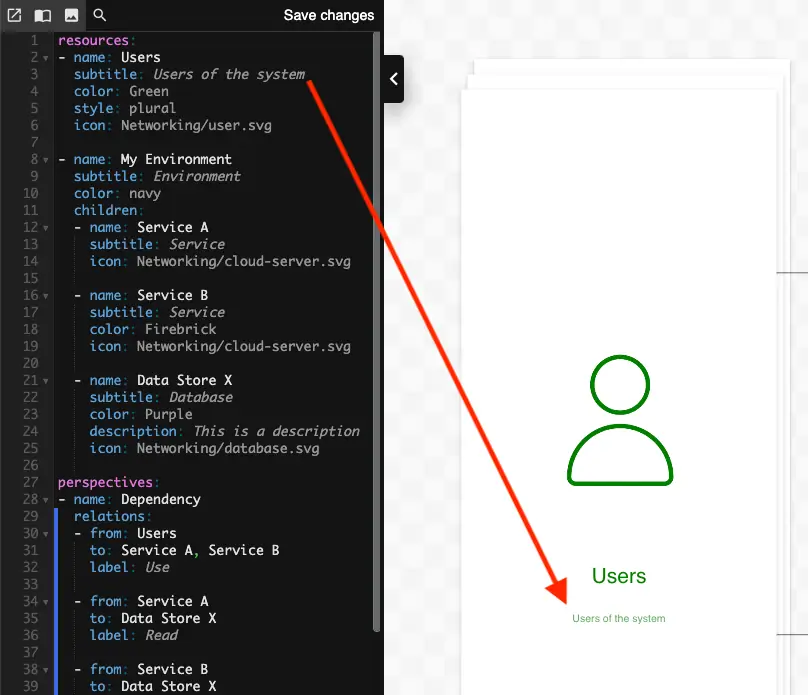
We can change this to anything we wish. Change the value to “Our awesome users”; the subtitle in the diagram should immediately reflect this change.
We will cover changing a resource’s name later.
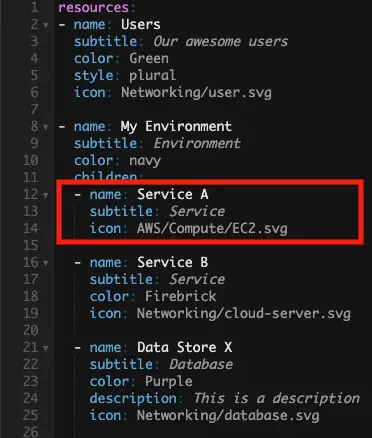
Resources can optionally have icons. For instance, Service A has its icon defined on line 14:
![]()
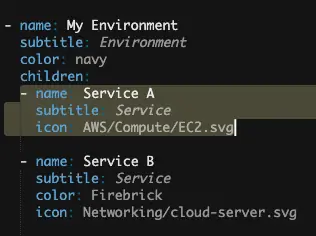
Ilograph comes with built-in icons for AWS, Azure, GCP, and generic networking. Let’s change Service A’s icon to something else. First delete the current icon value, then type Ctrl+space to start the autocomplete. From there, you can browse the icons to select one:
The autocomplete can also be used to search. If you know the name of the icon you’d like, just start typing it:
Next, let’s define a new resource that can be used in our diagram. We define this new resource alongside the others in the resources section of our source code.
Find again the service named Service A in the resources section. Copy the three lines that make up its definition like so:
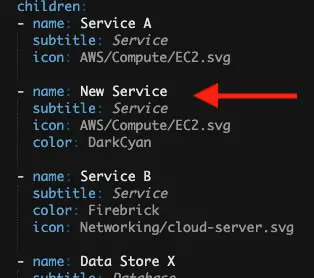
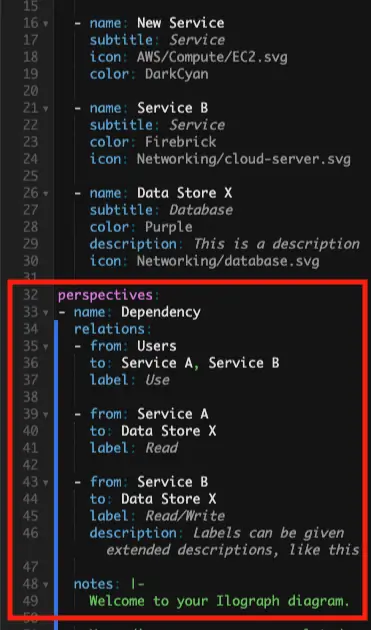
Paste these three lines immediately below (make sure the indentation matches) and change the name of this new resource to “New Service”. Also, give this attribute a color. Choose any color you like (below I’ve picked “DarkCyan”). The result should look like so:
Our resource now exists, but we cannot yet see it in our diagram because it has not been added to any perspectives. We’ll do this in the next section.
Our sample diagram has a single perspective called Dependency. It is the perspective we are currently viewing, and it is defined in the perspectives section of our source code. This section appears after all of our resource definitions:
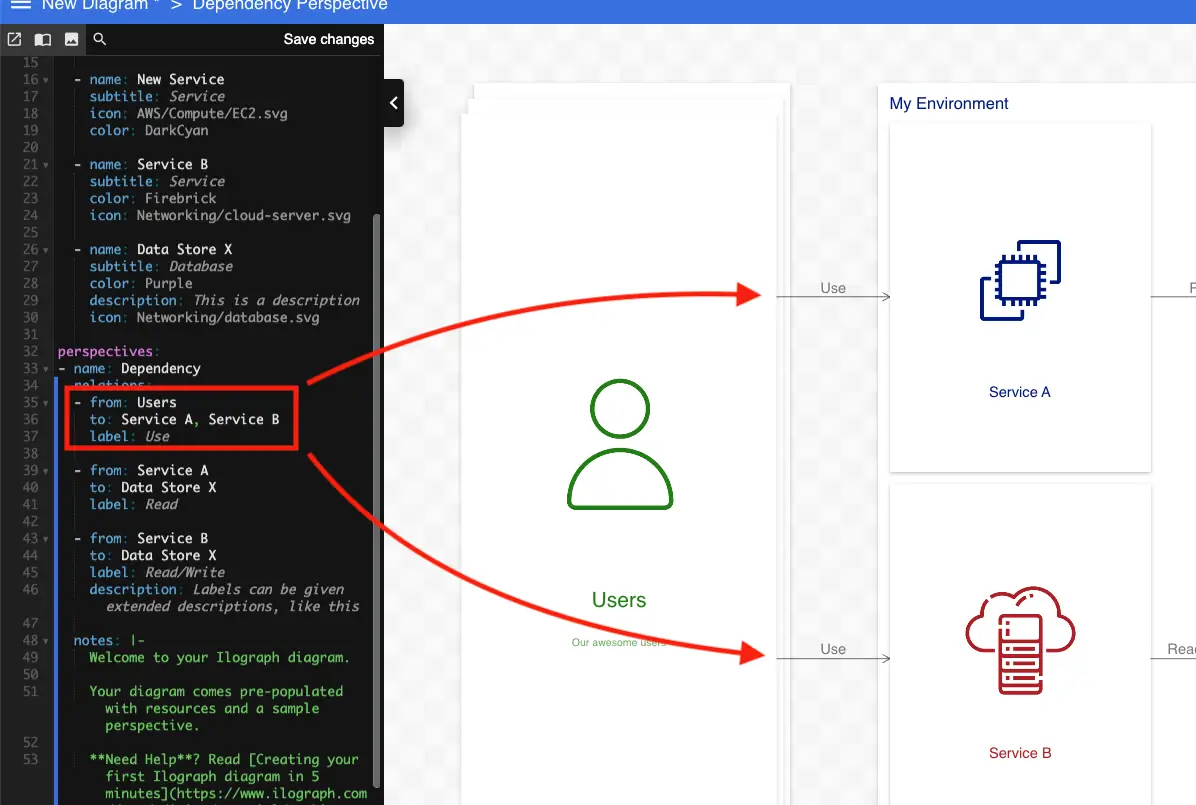
This perspective is a relational perspective, meaning it defines a set of relations that are then rendered in the diagram. The very first relation defined is from Users and to Service A and Service B. This relation results in the highlighted part of the diagram:
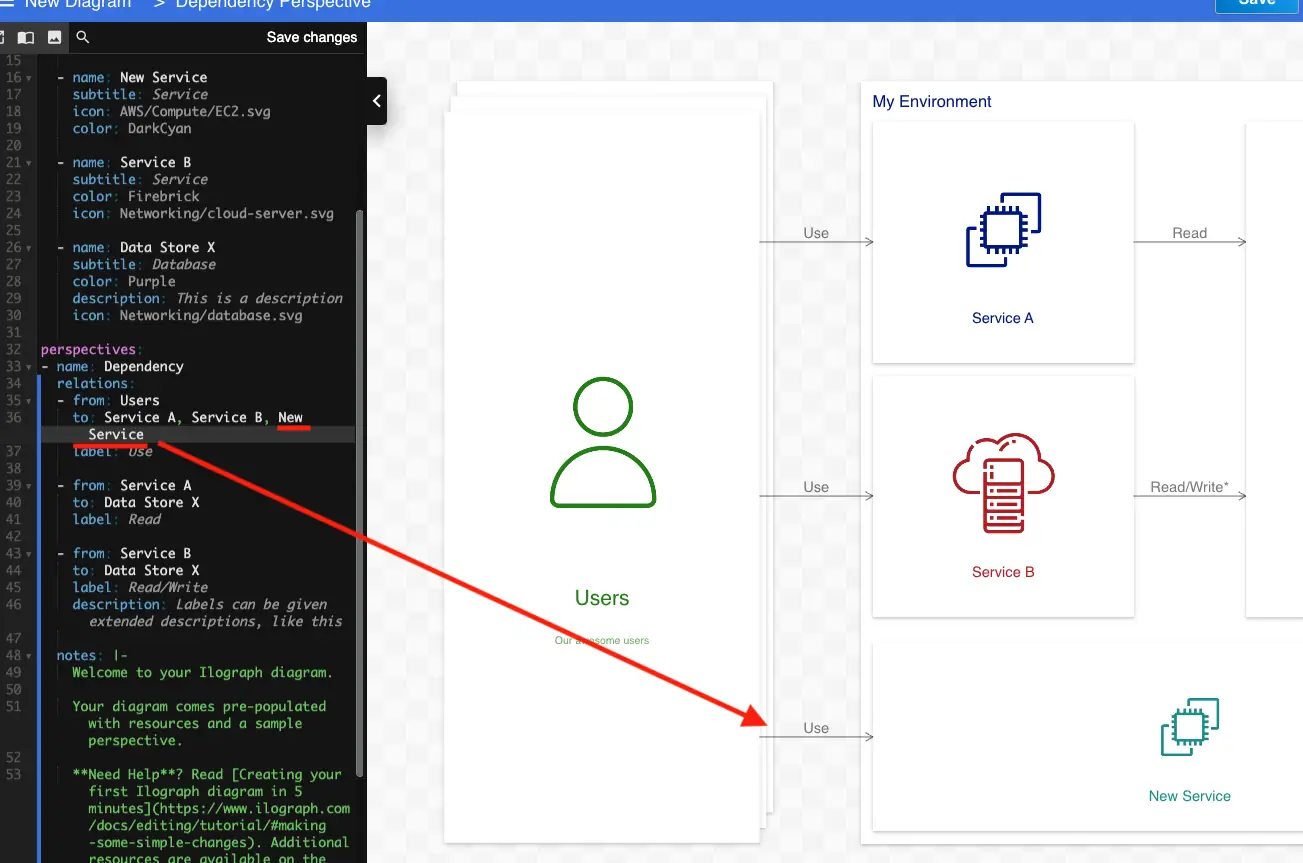
Adding our new resource to this perspective is as easy as including it in this existing relation. Do so by adding New Service to the to field of this relation like below. Notice that New Service now appears in the diagram.
We can also define an entirely new relation if we wish. Create a new relation from New Service and to Data Store X. Also, give this relation a label of your choice (below I picked “Write”):

Resources are defined in the resources section and are referenced by name in perspectives. Manually renaming a resource will not update those references, which can cause problems. For example, if you manually rename the Data Store X resource to New Data Store in the resources section, you’ll see three warnings in the perspective section:
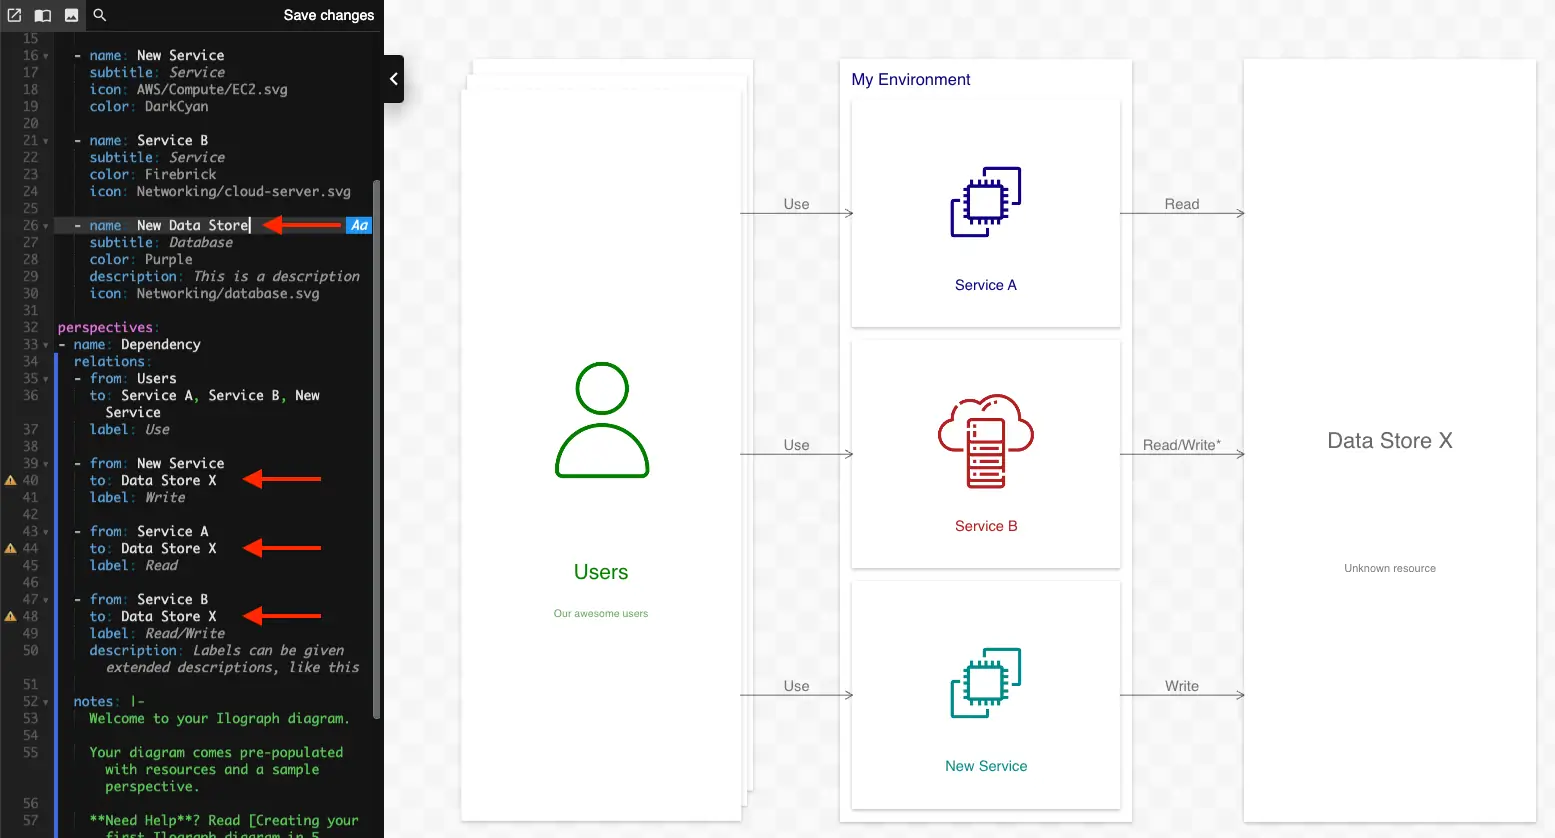
These warnings happen because these relations are referencing a resource (Data Store X) that no longer exists. You can manually update those references, however, there is a better way.
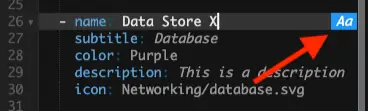
Instead of manually renaming Data Store X, select the name: Data Store X line in the editor, and a blue “Rename resource” button will appear:
Click it to bring up the “Rename resource” dialog:
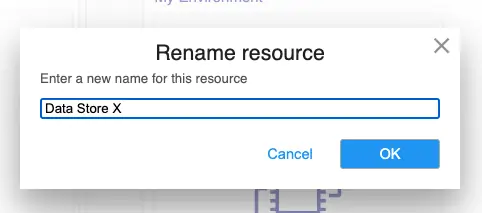
Rename this resource to New Data Store in this dialog. All references in your perspective(s) will be automatically updated!

One of Ilograph’s most powerful features is support for multiple perspectives. Perspectives allow you to show the same resources from different points of view and in different scenarios.
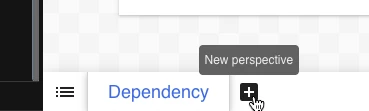
To create a new perspective, click the “New perspective” button in the perspective tray at the bottom of the app:
This will create a new perspective named New Perspective with the color “firebrick”. Feel free to change either or both.
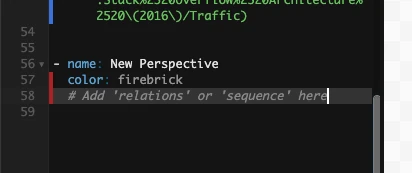
Our new perspective is initially empty. The first perspective was a relation perspective showing static relations between our resources. Lets try something different and create a sequence perspective. Unlike relations perspectives, sequence perspectives document specific actions between resources that happen in a sequential order.
On the line below “color”, define a sequence like so:
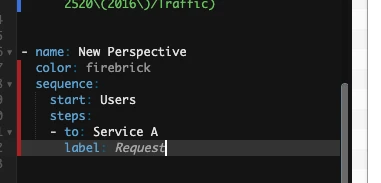
Be sure to include the sequence keyword, a starting resource (Users in this case) and one or more steps. When rendered this perspective looks like so:

So far it doesn’t look much different from a relation perspective. Lets add some more steps:
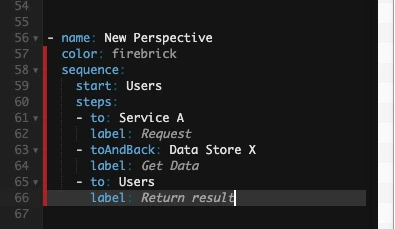
With these new steps the perspective now looks like so:
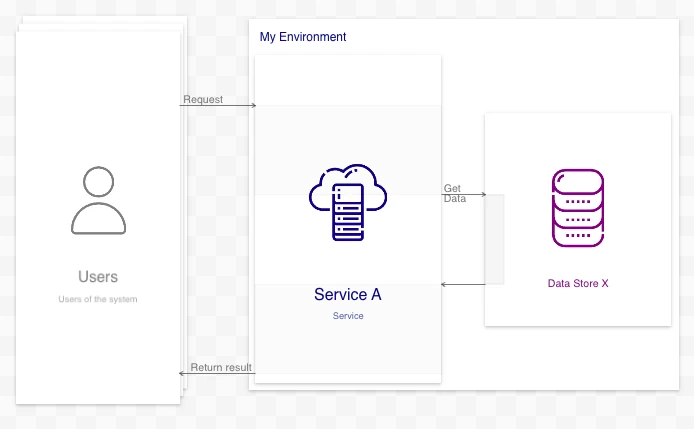
You can add as many steps as you like to your sequences. Each step can be defined in a few ways (we used to and toAndBack above) and can be given labels and descriptions.
Every perspective will be either a relation perspective (like our first perspective) or a sequence perspective (like our second). Be sure to use a mix of both to fully document your systems.
When you’re ready to save your changes, click the “Save changes” link at the top of the source panel. The first time you save, you will be prompted to choose a name for your diagram. If you have not already done so, you first will be asked to create an account and choose a user name.
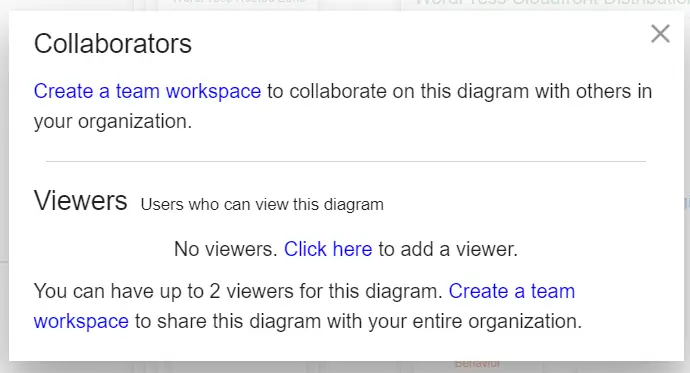
Once saved, diagrams can be shared with others. To do so, click the “Share diagram” button in the top-right of the app. In this dialog you can add viewers or create a team workspace.
From here you can continue to create resources and add them to this perspective. You can also add additional perspectives to show different ways your resources relate and interact with each other. Learn more about the resource tree and perspectives. For a complete breakdown of Ilograph source, see the Ilograph spec.