Ilograph for Confluence Cloud
Ilograph is available as an app for Confluence Cloud. It is fully standalone; your diagrams are accessed from (and stored entirely within) your Confluence Cloud instance. You will not need to install Ilograph Desktop or have an Ilograph account.
Click here to visit the app in the Atlassian Marketplace. From there, click Try it free to install. Your installation comes with a free 30-day trial.

Once installed, Ilograph for Confluence Cloud can be accessed from the “Apps” menu:

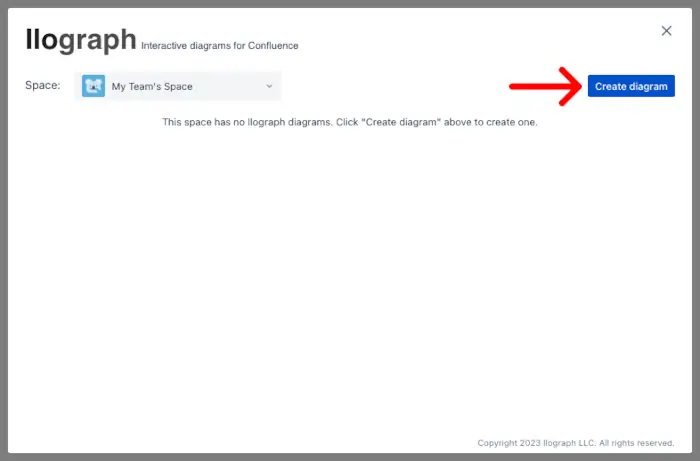
To create a new diagram, open Ilograph, select a space, and click Create diagram:
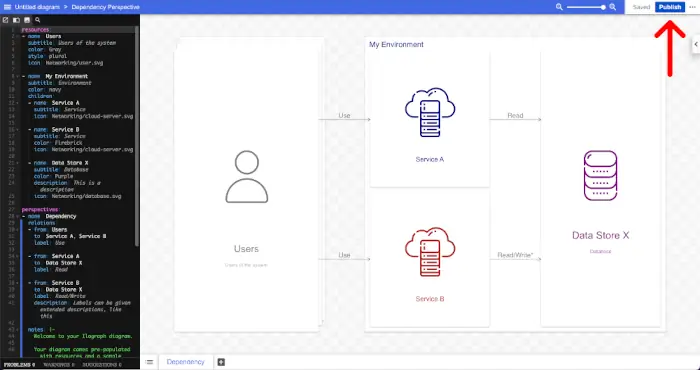
Your diagram is created and ready to edit. For more information about editing diagrams, see Creating Your First Ilograph Diagram.
When you’re ready to publish, click the Publish button:
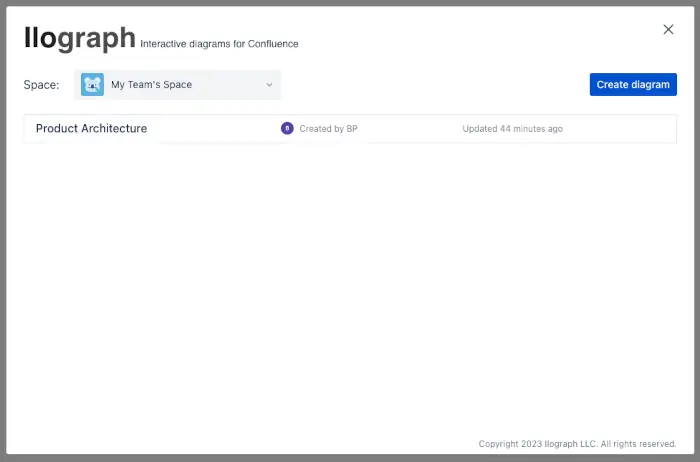
Your diagram will then appear in the diagram list for the current space:
Ilograph diagrams can be embedded in Confluence Cloud pages. To start, visit the page you’d like to embed a diagram into, and select the “edit” icon in the top-right of the page:

In the location you’d like the diagram to appear, begin a new line with /ilo. A pop-up offering the “Embedded Ilograph Diagram” macro should appear:
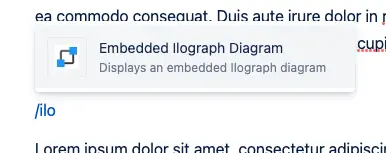
Select the macro, and you will be asked to select a diagram to embed:
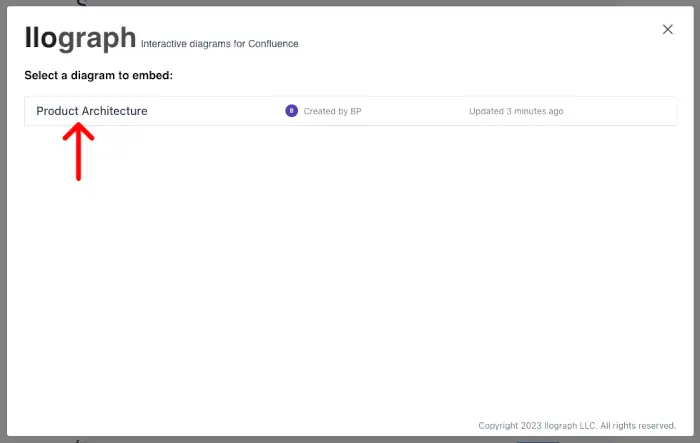
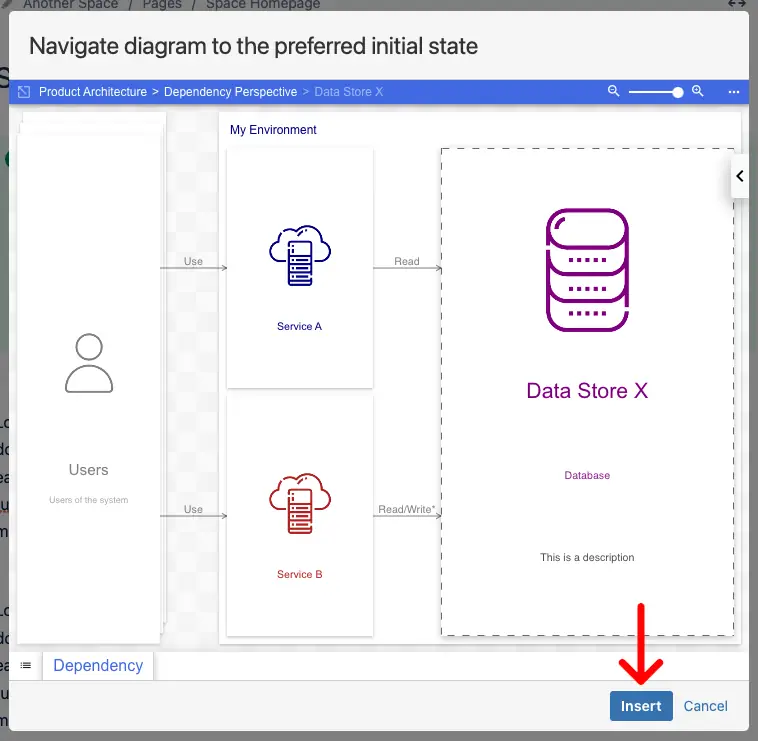
After selecting a diagram to embed, you will have a chance to configure its initial state. This is the state the diagram starts in when the page is loaded by a user. You can choose the perspective, focus on resources, toggle the notes, and adjust the level of detail. If a perspective has a walkthrough, you can also choose a specfic initial walkthrough step.
When ready, click the Insert button to insert the diagram:
After you’ve inserted the diagram, don’t forget to publish the page using the Publish button:

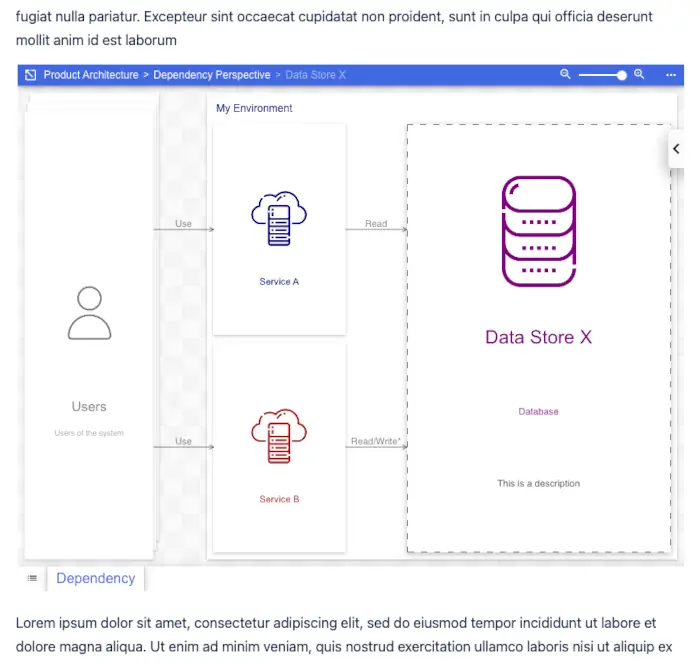
Your diagram should now be embedded in the page:


